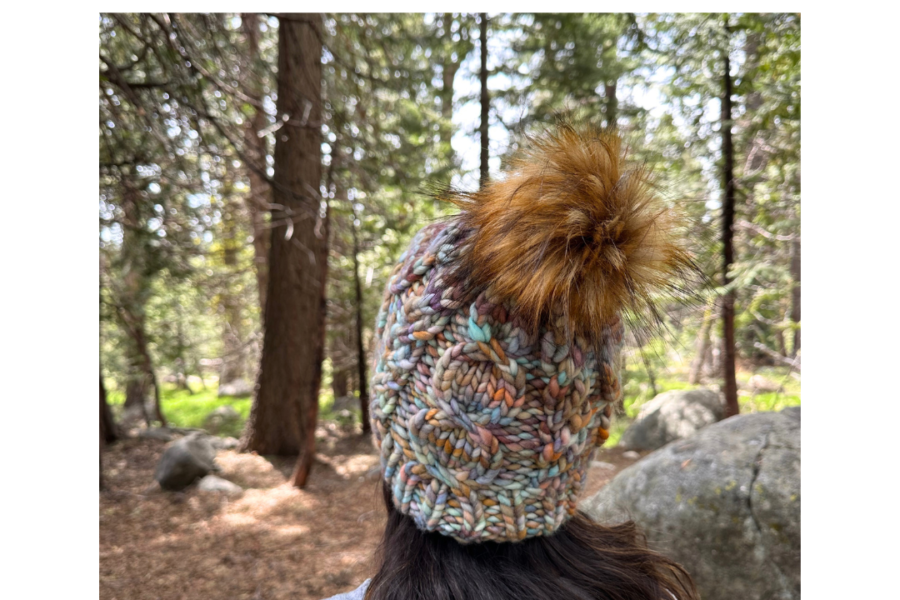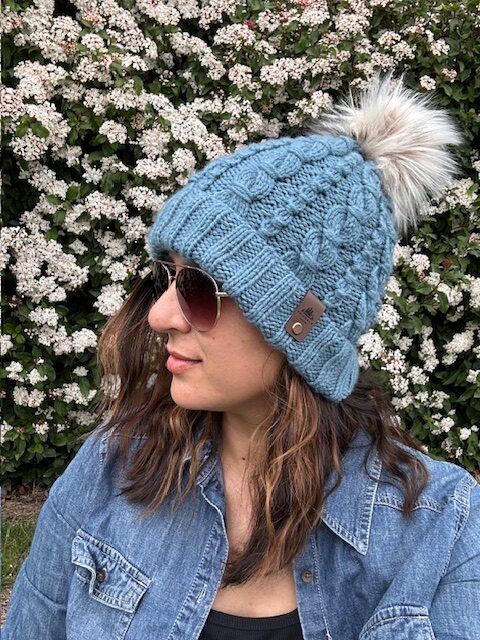

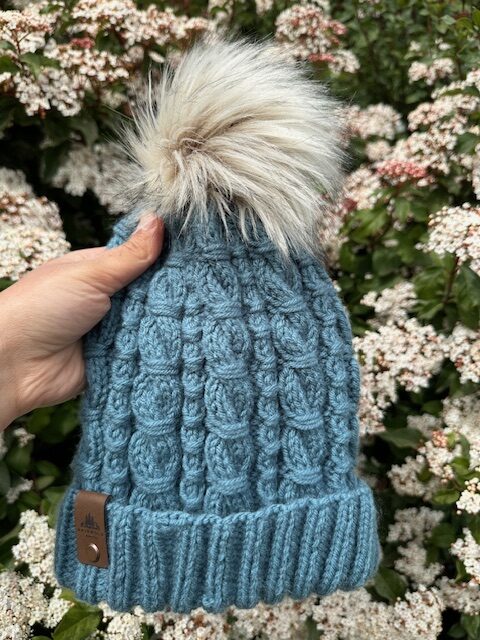
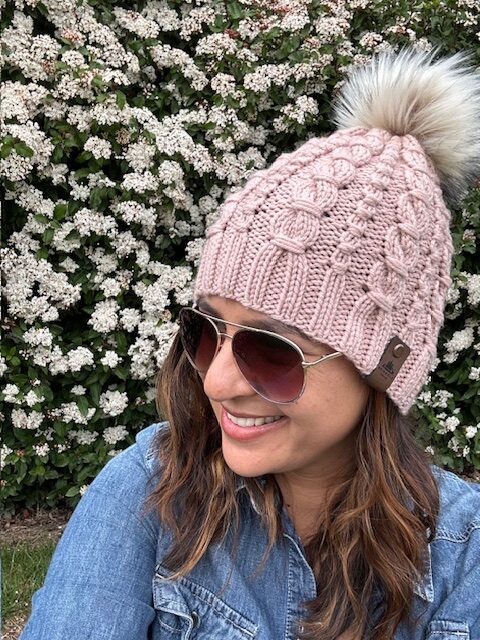
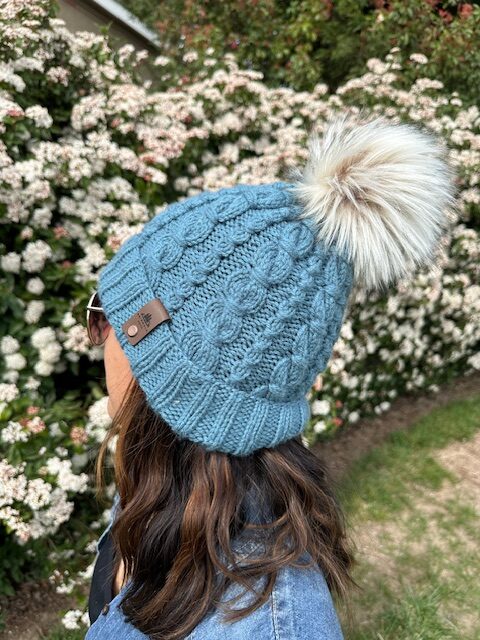

Hi guys thank you for stopping by! The Tied Up and Twisted Beanie is my latest design and I am in love with all the texture and unique stitches in this hat. My goal was to create something elegant and beautiful. I used the Estonian Button stitch and wrapped cables to give this hat its feminine charm. Below you will find the written pattern. If you are a visual learner like me I got you covered! Head on over to my YouTube Channel Griswold Knits where you will find the full length step by step video tutorial. Happy Knitting!!
This post contains affiliate links, which means I may receive a small commission if you purchase through my links, at no extra cost to you. Please read full disclosure for more information.
Yarn: This pattern is designed for medium worsted weight yarn. I used Impeccable Yarn (Misty Blue) by Loops and Threads, as well as Yarn Bee Yarn ID in the color Himalayan Sea Salt. Feel free to use any comparable yarn that meets the gauge requirements.
Supplies:
● US size 7 (4.5mm) 16 inch circular knitting needles
● US size 8 (5.0 mm) 16 inch circular knitting needles
● 1 skein of medium worsted weight yarn
● Tapestry needle for weaving in ends
● Measuring tape
● Stitch marker
● US 8 5.0 mm Double Pointed Needles (DPN)
● Cable Needle
Abbreviations:
K– Knit
P– Purl
6WC (6 Stitch Wrapped Cable)- Slip 6 stitches purlwise onto your cable needle and hold towards the back of your work. Take the working yarn and starting from behind the cable needle wrap yarn three times around the cable. Slip all 6 stitches back onto the right hand needle. https://youtu.be/LpTcsnio0Jk?si=1n3TCK2Qn0t7m5uA
C6F (Cable 6 Front)- Slip 3 stitches onto your cable needle and hold towards the front of your work. Knit 3 stitches from the left hand needle, then knit 3 stitches from the cable needle
EST (Estonian Button Stitch)– Insert the tip of your right hand needle in between the 2nd and 3rd stitch on your left hand needle. Draw up a loop and place it onto your left hand needle. Knit through the back loop of the stitch you placed onto the left hand needle. Slip the next two stitches purlwise onto the right hand needle and then pass the stitch that you knit through the back loop over the two slipped stitches. https://youtu.be/FHUGEgfPYZs?si=I6VDqaD7Uq3vcIqD
K2TOG– Knit 2 stitches together
P2TOG– Purl 2 stitches together
** Repeat instructions within asterisks
Skill Level: Advanced beginner/Intermediate
Hat Dimensions: This pattern is for an adult sized womens hat. Head circumference: 20-23 inches
Height: 9 inches for single brim/ 11 inches for folded brim measured unfolded
Width: 7- 7.5 inches unstretched
Gauge: (2×2 inch stockinette knit flat) 8 sts x 12 rows using US 8 (5.0 mm) needles
Important Notes:
-I recommend using a medium to loose tension when knitting this beanie. If you pull your stitches too tight, it may cause your beanie to pull at the crown instead of sitting flat on your head.
-Decreasing will add approximately ½ inch to your beanie, keep in mind if adjusting the size of your hat.
-You can easily adjust your beanie by increasing or decreasing the number of cast on stitches by multiples of 12.
-You can switch to larger needles before knitting the last row of your brim. This may make the beginning round of the body easier to knit (optional)
– End on rounds 1,3, 0r 5 of the body before beginning to decrease.
How to adjust your hat:
Please be sure to check your gauge. You may need to go up or down a needle size depending on your yarn weight and knitting tension. If you would like to adjust the size of your hat, simply increase or decrease by multiples of 12.
Instructions for beginning your hat
This hat is knit from the brim up. Using US 7 (4.5mm) 16 inch circular knitting needles cast on 96 and join in the round. I prefer to use the invisible join method but feel free to use any method you like, just make sure that you have 96 stitches total when you begin knitting your hat. Knit either a single brim or a folded brim.
Option # 1 Single Brim
Rounds 1-12: *K2,P2*
Option # 2 Folded Brim
*K2, P2* until your hat measures 4 inches from the cast on edge.
Once the brim is complete, be sure to switch to US 8 (5.0mm) 16 inch circular knitting needles before you begin knitting the body of the hat.
Body
- * 6WC, P2, EST, P2*
- *K6, P2, K2, P2*
- *K6, P2, K2, P2*
- *K6, P2, K2, P2*
- *K6, P2, EST, P2*
- *K6, P2, K2, P2*
- *K6, P2, K2, P2*
- *C6F, P2, K2, P2*
For single brim hats, repeat rounds 1-8 until your hat measures 8.5” from the cast on edge. Then begin to decrease. You can end on rounds 1, 3 0r 5.
For a hat with a folded brim, repeat rounds 1-8 of the body until your hat measures 10.5” from the cast on edge. Then begin to decrease. You can end on rounds 1,3 0r 5.
Decreasing will add roughly ½ inch to your hat. Once finished, your hat should measure 9 inches total for a single brim and 11 inches total for a folded brim when you measure from the cast on edge to the top of your hat.
Decrease
End on round 1,3, or 5
- *K2, K2TOG, K2, P2TOG, K2, P2TOG*
- *K2, K2TOG, K1, P1, K2TOG, P1*
- *K2TOG, K2TOG, P1, K1, P1*
- *K2TOG, P1, K1, P1*
Once you have finished decreasing all that is left to do is cinch your beanie, weave in those ends and enjoy!
