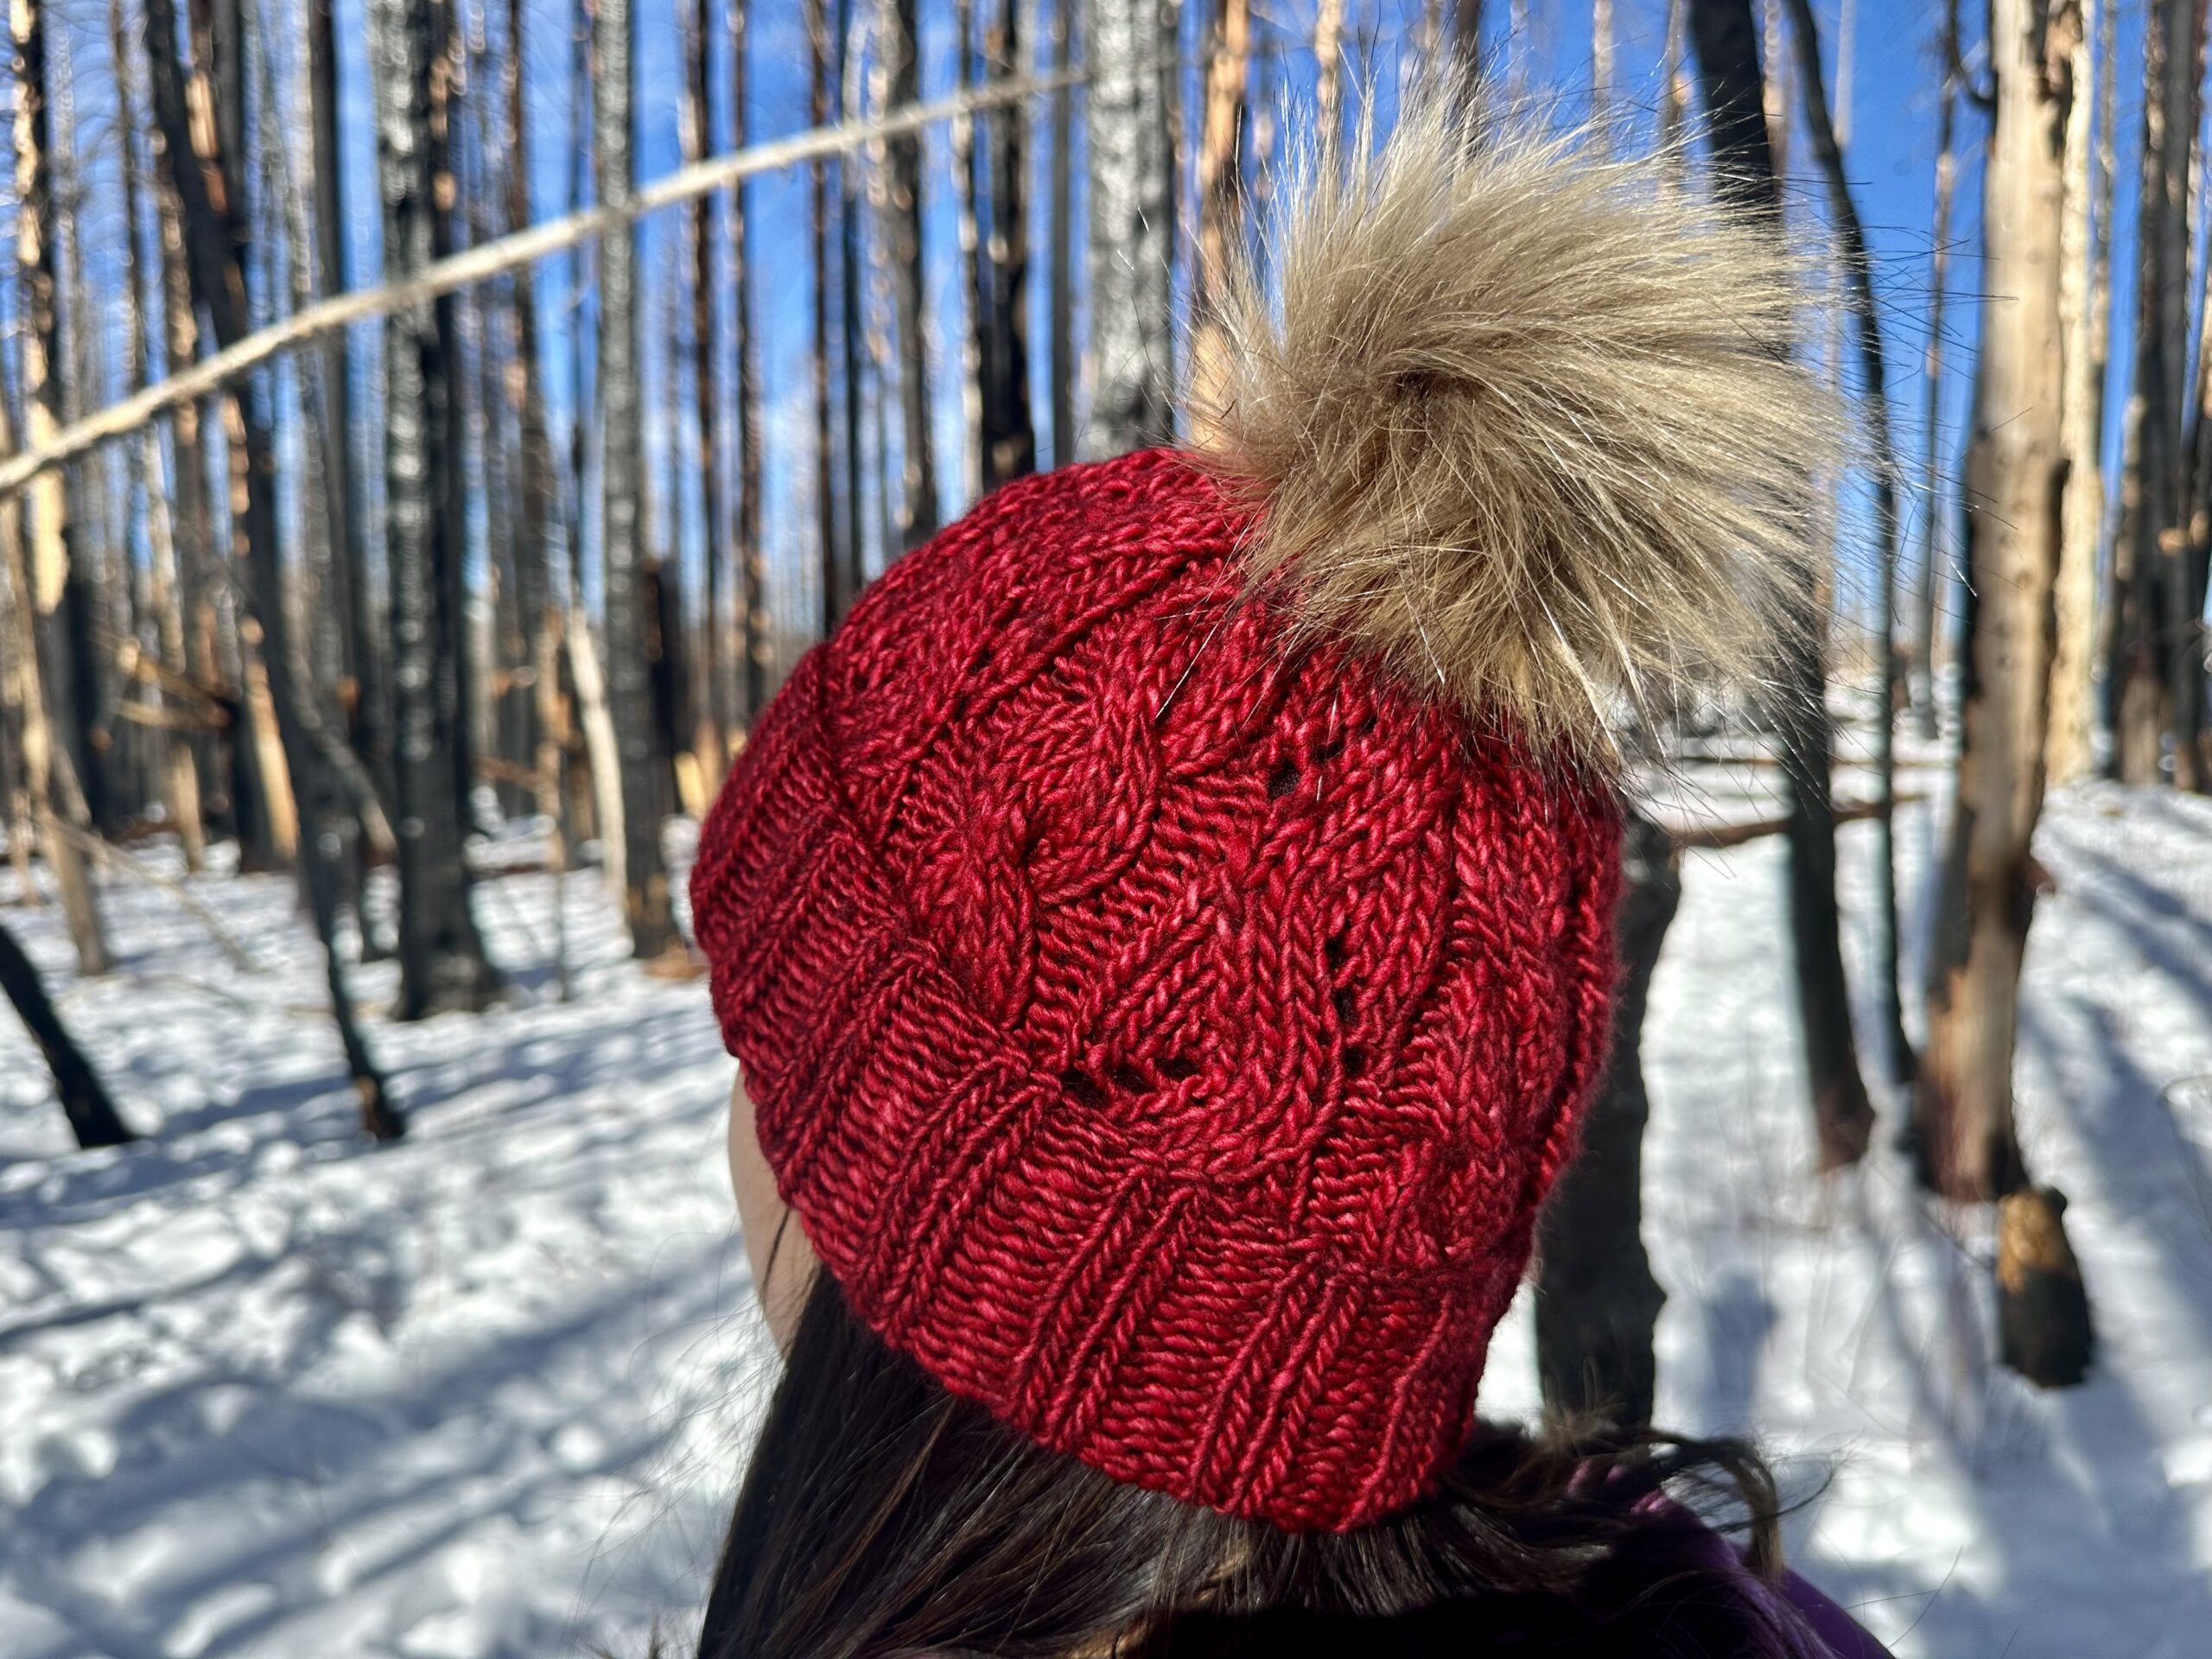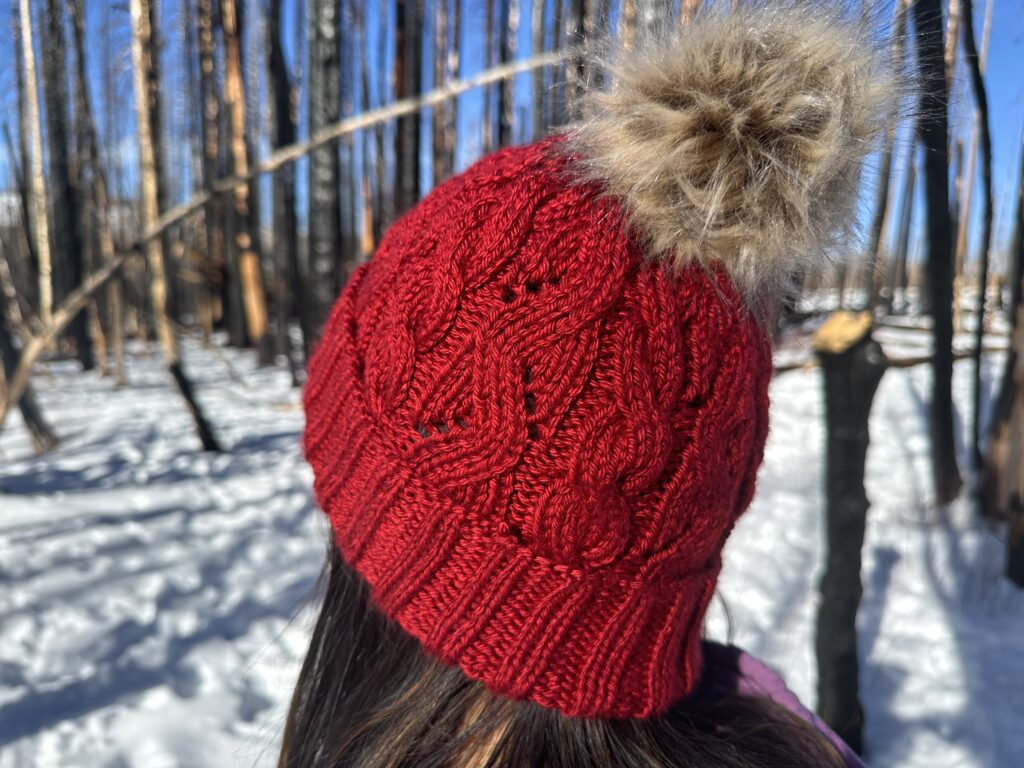
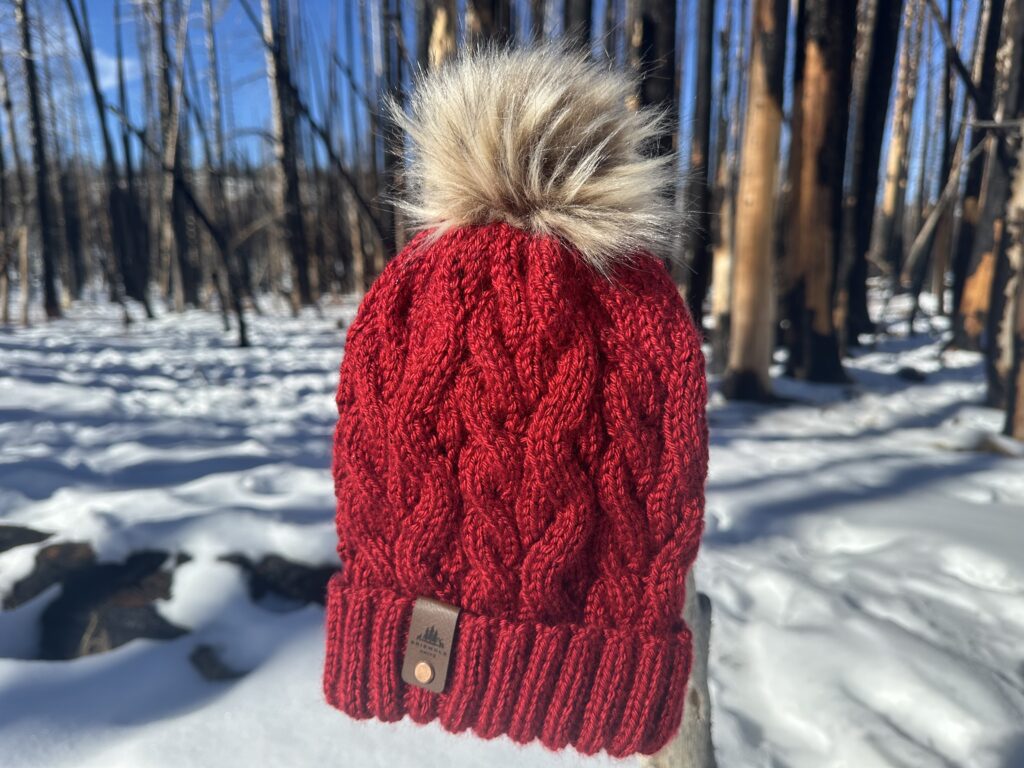
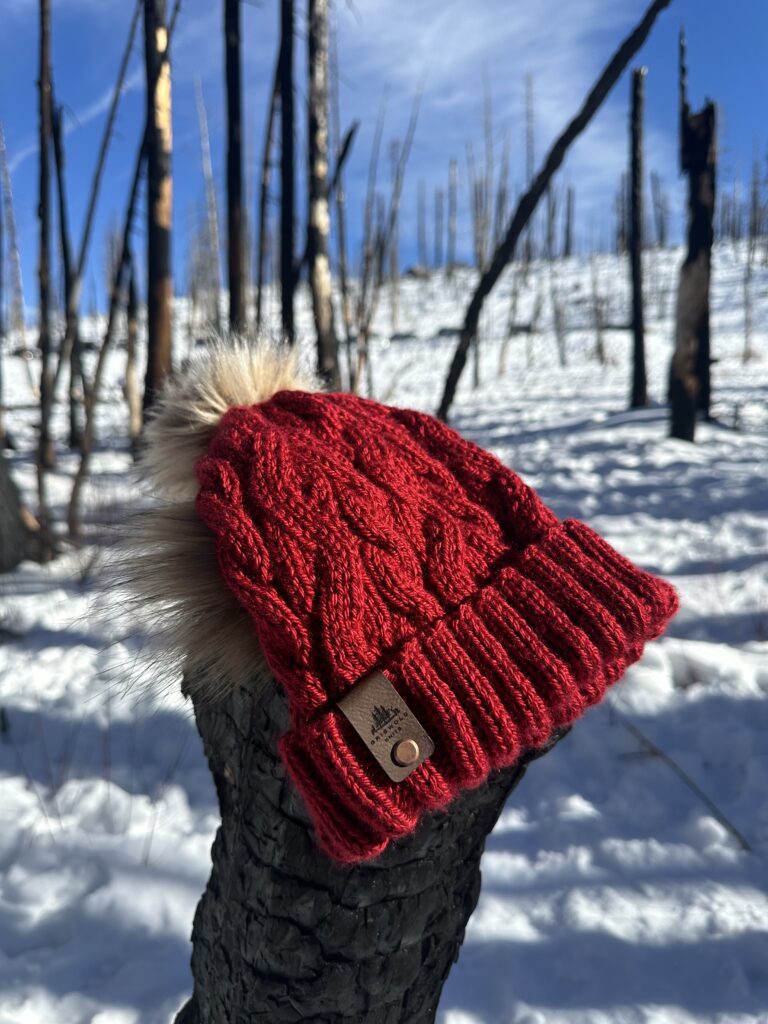
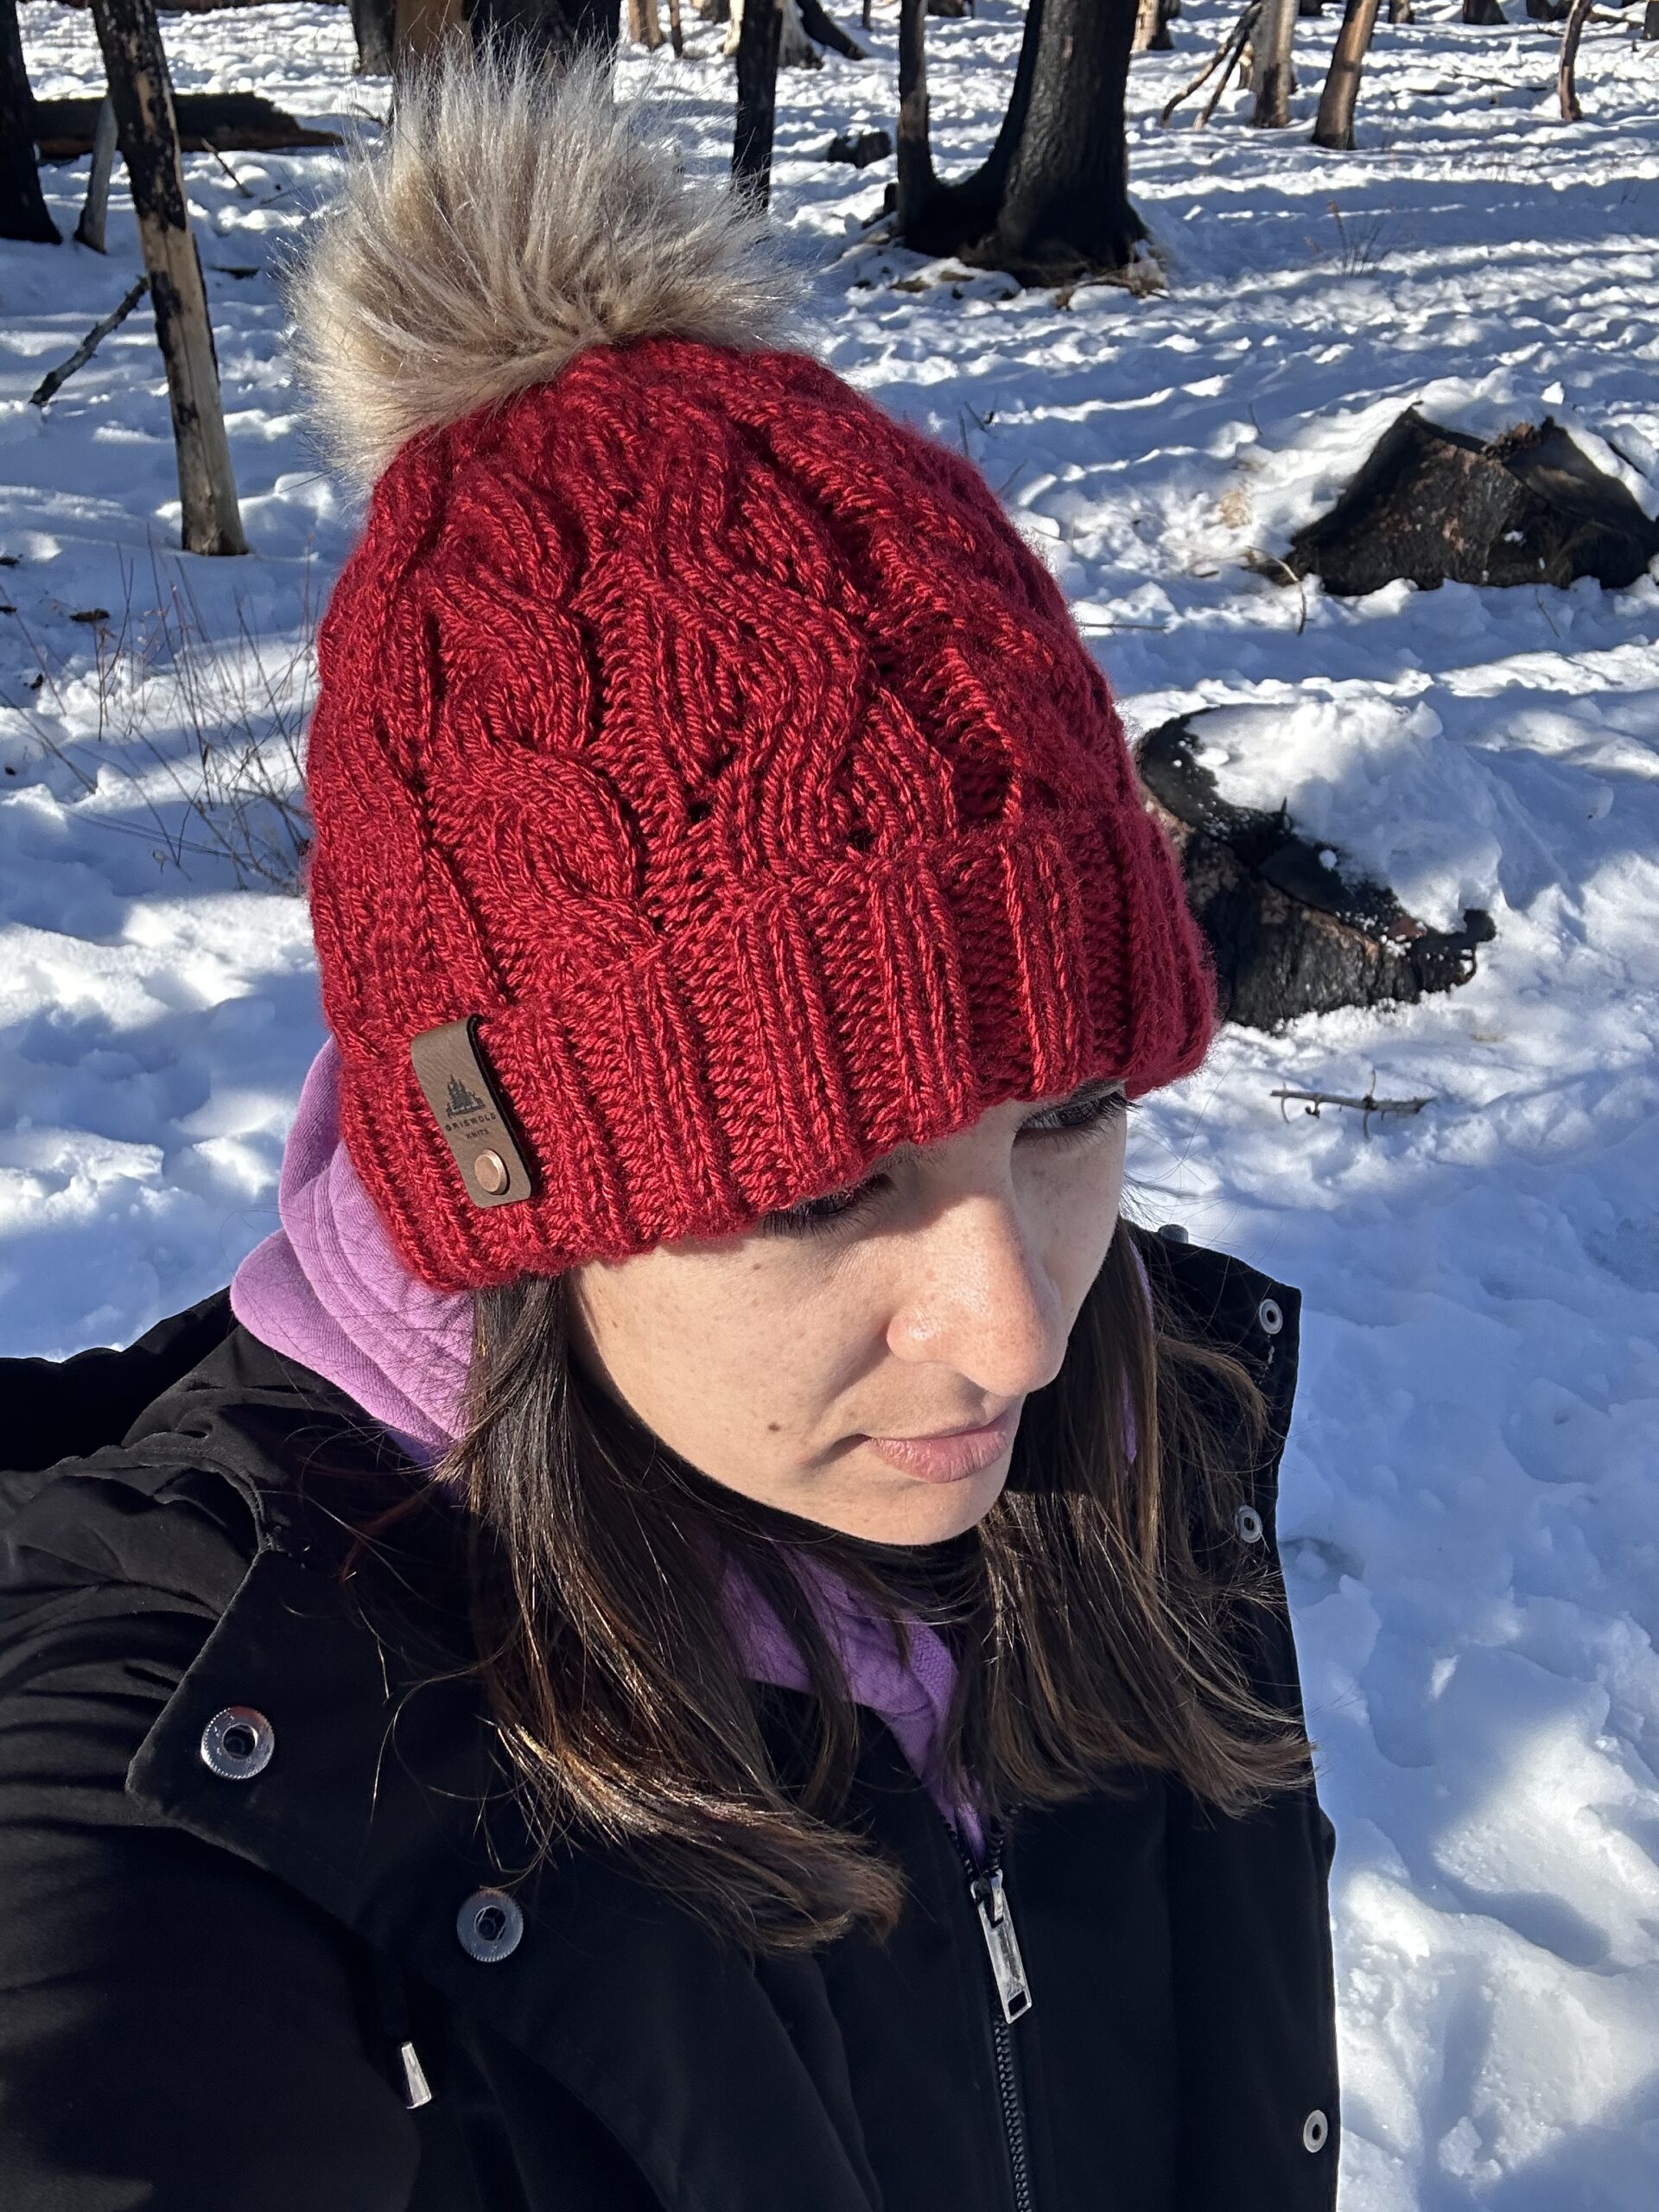
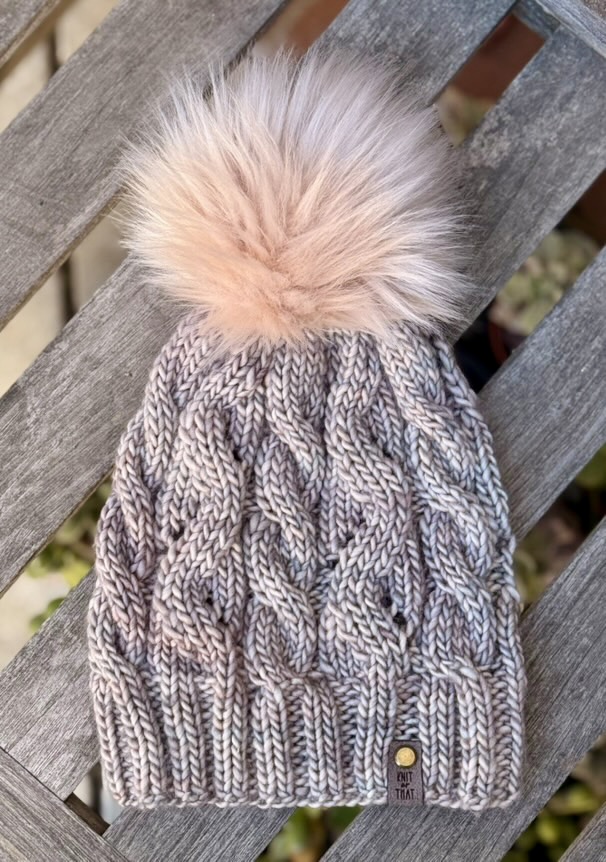
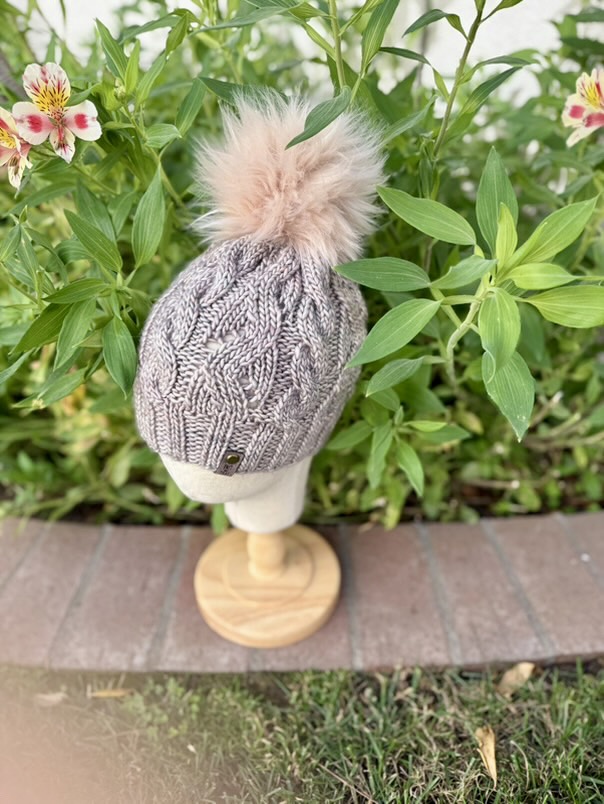
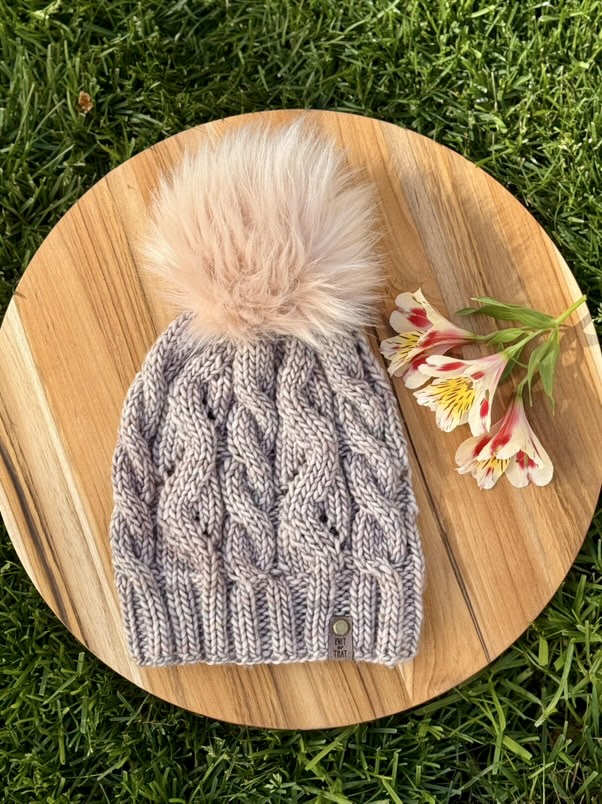
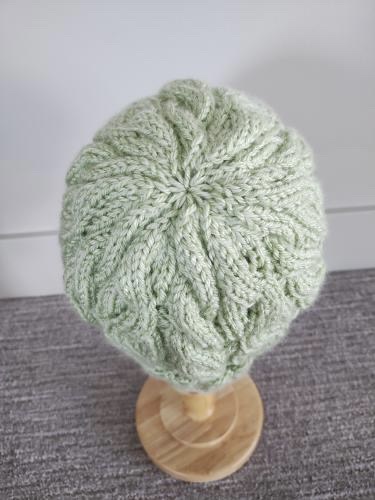
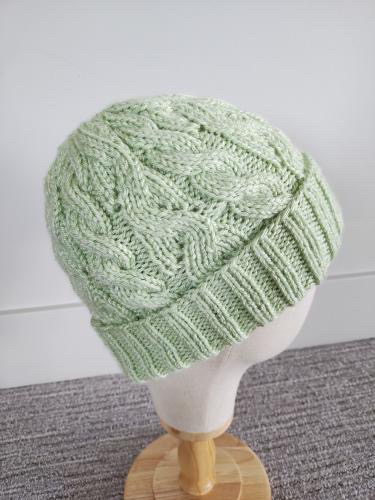
This is one of my favorite designs to date! The Lacy Day beanie has a warm feminine charm that is perfect for any season. It features beautiful yet simple mock lace cables balanced with regular six stitch cables. Although it may look intimidating, the mock lace cable is actually easy to do and fun to watch it work up as you go. Below you will find instructions for both Medium Worsted Weight Yarn as well as Light Bulky yarn. I hope you enjoy knitting this hat as much as I do.
I would love to see your work! If you make one of these hats be sure to tag me on Instagram @griswold.knits and use the hashtag #lacydaybeanie. Now let’s get started!
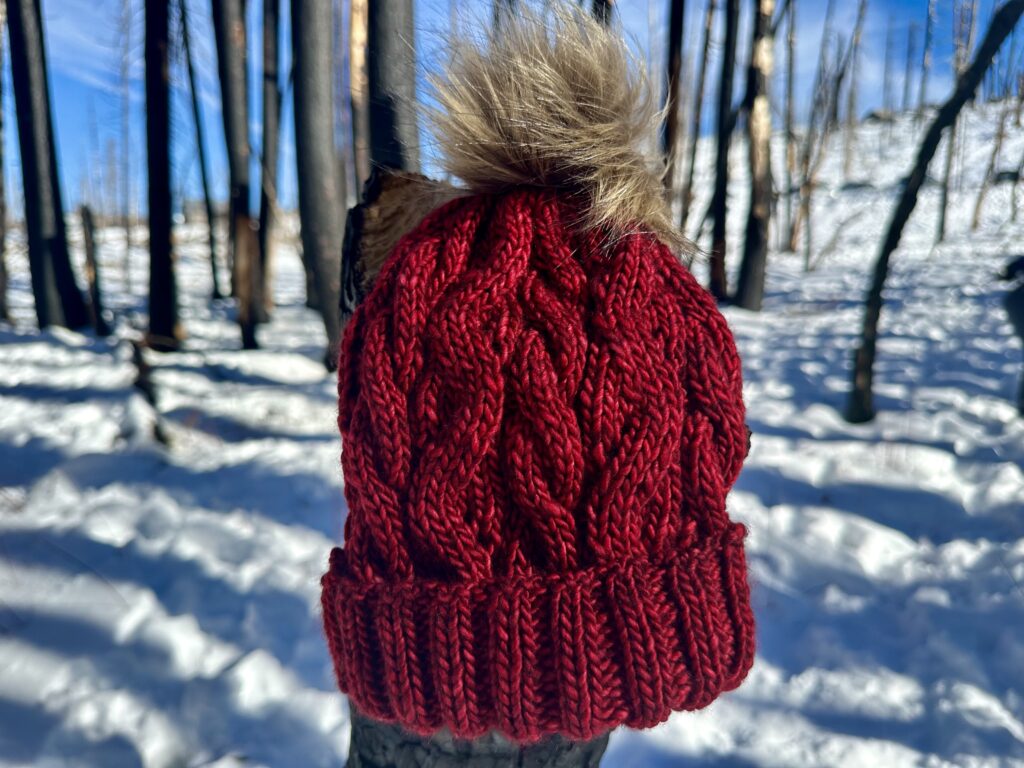
YARN: For this project I used 1 skein of Lion Brand Heartland yarn in the color Redwood but you may use any No. 4 medium worsted weight yarn you prefer.
Abbreviations:
K– Knit
P– Purl
K2TOG– Knit two stitches together
P2TOG– Purl two stitches together
SSK (Slip Slip Knit)- Individually slip 2 stitches knitwise from your left hand needle onto your right hand needle. Transfer those two stitches back to the left hand needle and then knit them together through the back loop
C6F-(Cable 6 Front)- Slip 3 stitches onto your cable needle and hold towards the front of your work. Knit 3 stitches from the left hand needle, then knit 3 stitches from the cable needle
YO (Yarn Over)- Bring your working yarn towards the front of your work
YRN (Yarn Round Needle)- Bring the working yarn to the front of your work and wrap the yarn around your right hand needle counter clockwise. Bring the yarn back to the front of your work and work the next stitch.


Lacy Day Beanie pictured above in Malabrigo Rios Color Ravelry Red and Sweet Georgia Yarn in Cauldron.
Materials:
● 1 Skein of No. 4 Medium Worsted weight yarn Lion Brand Heartland color Redwood
● US 7 (4.5 mm) 16 inch circular knitting needles
● US 8 (5.0 mm) 16 inch circular knitting needles
● Stitch Marker
● Tapestry Needle
● Scissors
● Stitch Marker
Hat Dimensions: This pattern is for an adult sized woman’s hat. Head circumference: 20-23 inches
Height: 9 inches for single brim/ 11 inches for folded brim measured unfolded
Width: 7- 7.5 inches unstretched
Gauge: 2 x 2 inch stockinette 11 sts x 15 rows using 5.0 mm needles.
How to adjust your beanie: You can adjust the size of your hat by simply increasing or decreasing the number of CO stitches by multiples of 16.
Knitting Instructions:
Using your US 7 (4.5 mm) 16 inch circular knitting needles cast on 96 stitches and join in the round.
Single Brim- *K2, P2* for 12 rounds
Folded Brim- *K2, P2* until your brim measures 4″ from the cast on edge
Once your brim is complete, switch to your larger US 8 (5.0 mm) 16 inch circular knitting needles and begin the body of your hat.
Body:
- *K6, P2, C6F, P2*
- *K6, P2*
- *YO, K2, SSK, K2, P2, K6, P2*
- *K6, P2*
- *K1, YO, K2, SSK, K1, P2, K6, P2*
- *K6, P2*
- *K2, YO, K2, SSK, P2, K6, P2*
- *K6, P2*
- *K6, P2, C6F, P2*
- *K6, P2*
- *K2, K2TOG, K2, YRN, P2, K6, P2*
- *K6, P2*
- *K1, K2TOG, K2, YO, K1, P2, K6, P2*
- *K6, P2*
- *K2TOG, K2, YO, K2, P2, K6, P2*
- *K6, P2*
If you are knitting a single brim hat, repeat rounds 1-16 until your hat measures 8 and ½ inches from the cast on edge. End on round 4, 6, 10, 12, 14 or 16. Then begin to decrease.
For a hat with a folded brim, repeat rounds 1-16 of the body until your hat measures 10 and ½ inches from the cast on edge. End on round 4, 6, 10, 12, 14 or 16. Then begin to decrease.
Decreasing will add roughly ½ inch to your hat. Once finished, your hat should measure 9 inches total for a single brim and 11 inches total for a folded brim when you measure from the cast on edge to the top of your hat.
Decrease:
- *SSK, K2, K2TOG, P2* (72 sts)
- *K4, P2* (72 sts)
- *SSK, K2TOG, P2* (48 sts)
- *K2TOG, P2TOG* (24 sts)
Cinch your beanie, weave in the ends and enjoy your beautiful hat!
Below you will find some wonderful fiber artists who helped make the Lacy Day beanie a success!

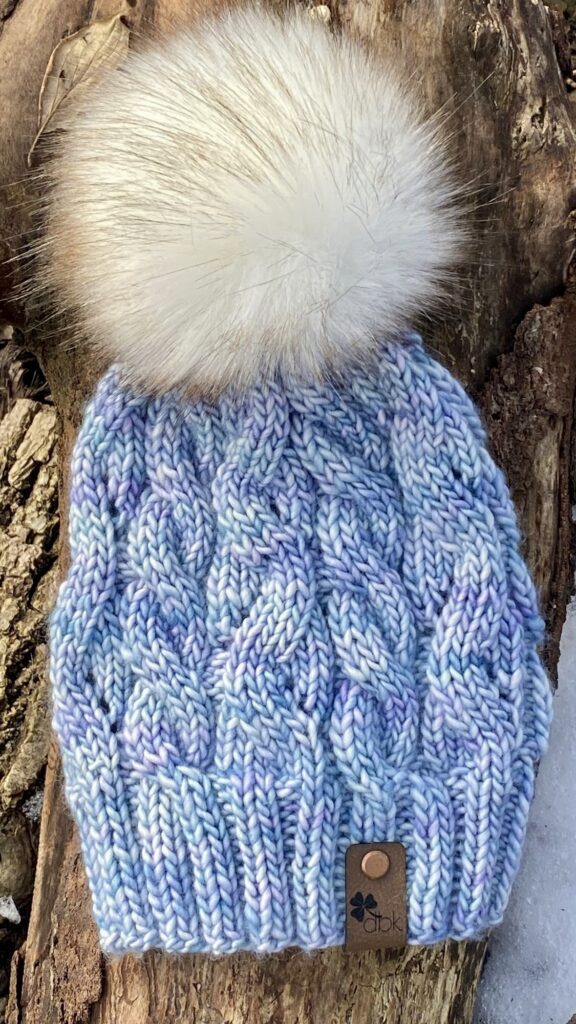
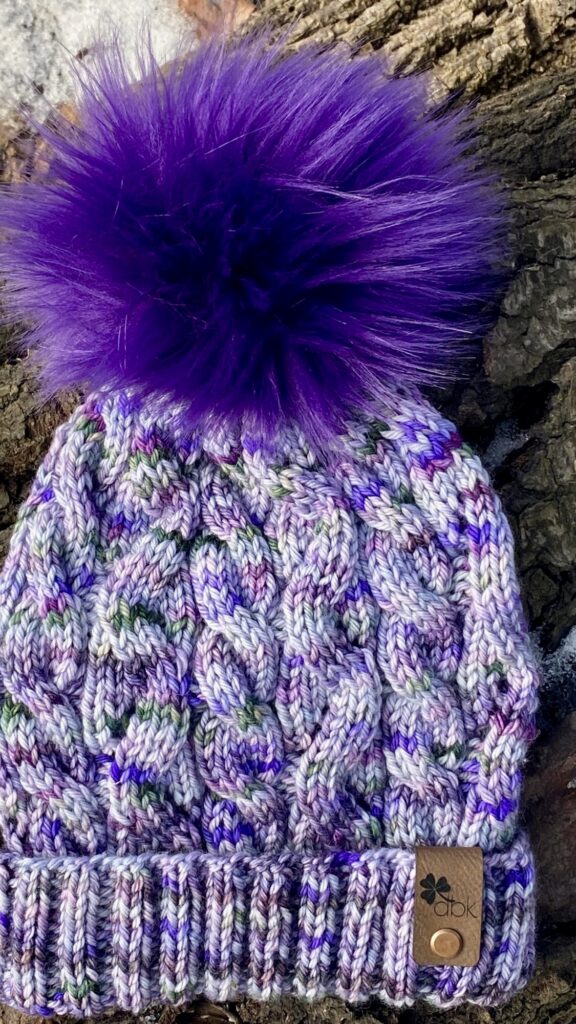
Lacy Day Beanie knit by Joyce at dannyboyknits
Lacy Day Beanie knit by Mary @knitorthat on IG
Lacy Day Beanie knit by Katharyn StitchesforSerenity
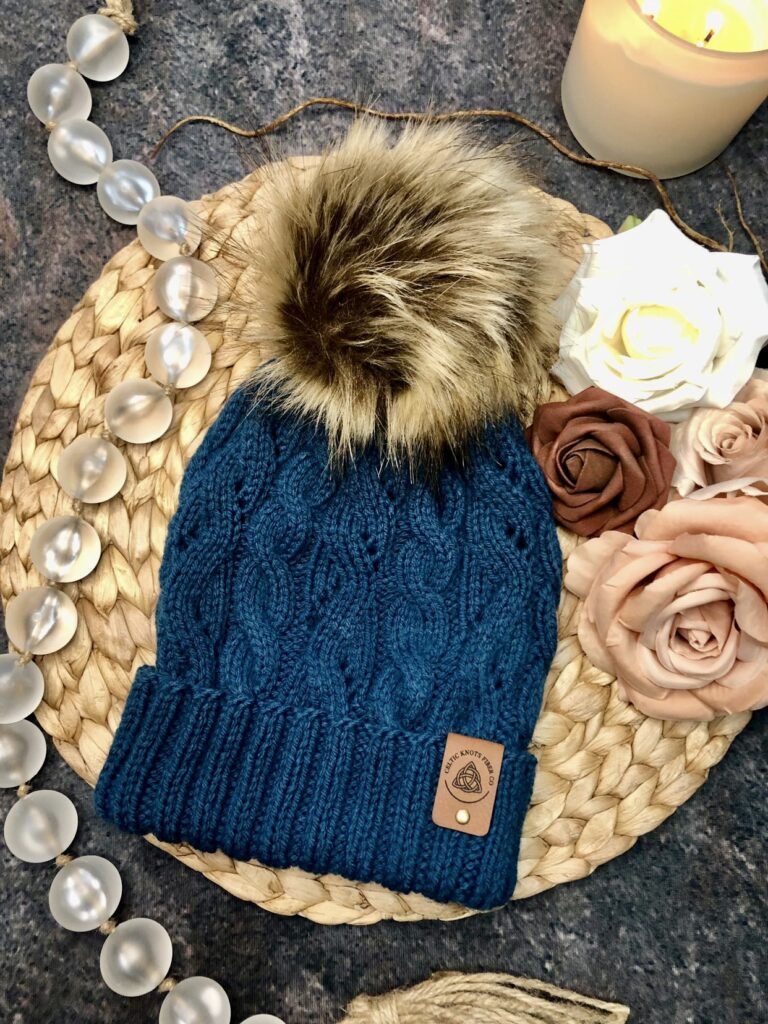
Lacy Day Beanie knit by Mel at Celtic Knots Fiber Co.
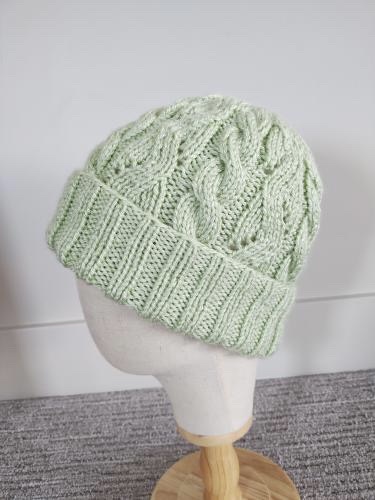
LACY DAY BEANIE LIGHT BULKY
Lacy Day Beanie Light Bulky shown in Malabrigo Mecha color Cereza.
The Lacy Day Medium Worsted and Light Bulky version are very similar but there are a few differences such as the yarn weight, number of cast on stitches, and needle size. The light bulky hat also includes one increase round before beginning the body of your hat. Lastly, gauge is very important. You may need to adjust your needle size depending on which type of light bulky yarn you use. Make sure to check your gauge before beginning your hat.
Yarn: For this project I used one skein (130 yds) Malabrigo Mecha in the color Cereza. You can choose any comparable N0. 5 Light Bulky yarn that meets the gauge requirement.
Abbreviations:
K– Knit
P– Purl
K2TOG– Knit two stitches together
P2TOG– Purl two stitches together
SSK (Slip Slip Knit)- Individually slip 2 stitches knitwise from your left hand needle onto your right hand needle. Transfer those two stitches back to the left hand needle and then knit them together through the back loop
C6F-(Cable 6 Front)- Slip 3 stitches onto your cable needle and hold towards the front of your work. Knit 3 stitches from the left hand needle, then knit 3 stitches from the cable needle
YO (Yarn Over)- Bring your working yarn towards the front of your work
YRN (Yarn Round Needle)- Bring the working yarn to the front of your work and wrap the yarn around your right hand needle counter clockwise. Bring the yarn back to the front of your work and work the next stitch.
Materials:
● 1 Skein of No. 5 Light Bulky weight yarn. I used 130yds of Malabrigo Mecha in Cereza but you may use any comparable yarn that meets the gauge requirements.
● US 10 (6.0 mm) 16 inch circular knitting needles
● Stitch Marker
● Tapestry Needle
● Scissors
Hat Dimensions: This pattern is for an adult sized woman’s hat. Head circumference: 20-23 inches
Height: 9 inches for single brim/ 11 inches for folded brim measured unfolded
Width: 7- 7.5 inches unstretched
Gauge: (2×2 inch stockinette knit flat) 9 sts x 11 rows using US size 10 6mm circular needles
Knitting Instructions:
Using your US 10 (6.0 mm) 16 inch circular knitting needles cast on 72 stitches and join in the round.
Single Brim- *K2, P2* for 12 rounds
Folded Brim- *K2, P2* until your brim measures 4″ from the cast on edge
Once your brim is complete, continue using your 6.0 mm needles and knit the increase round.
Increase Round: *K8, KFB* you should have 80 stitches after completing the increase round. Then proceed to the body of your hat.
Body:
- *K6, P2, C6F, P2*
- *K16*
- *YO, K2, SSK, K2, P2, K6, P2*
- *K16*
- *K1, YO, K2, SSK, K1, P2, K6, P2*
- *K16*
- *K2, YO, K2, SSK, P2, K6, P2*
- *K16*
- *K6, P2, C6F, P2*
- *K16*
- *K2, K2TOG, K2, YRN, P2, K6, P2*
- *K16*
- *K1, K2TOG, K2, YO, K1, P2, K6, P2*
- *K16*
- *K2TOG, K2, YO, K2, P2, K6, P2*
- *K16*
If you are knitting a single brim hat, repeat rounds 1-16 until your hat measures 8 and ½ inches from the cast on edge. End on round 4, 6, 10, 12, 14 or 16. Then begin to decrease.
For a hat with a folded brim, repeat rounds 1-16 of the body until your hat measures 10 and ½ inches from the cast on edge. End on round 4, 6, 10, 12, 14 or 16. Then begin to decrease.
Decreasing will add roughly ½ inch to your hat. Once finished, your hat should measure 9 inches total for a single brim and 11 inches total for a folded brim when you measure from the cast on edge to the top of your hat.
Decrease:
- *SSK, K2, K2TOG, P2* (60 sts)
- *K4, P2* (60 sts)
- *SSK, K2TOG, P2* (40 sts)
- *K2TOG, P2TOG* (20 sts)
Now all that is left is to cinch your beanie and weave in the ends. Congratulations! You now have your very own Lacy Day Beanie. Please tag me on IG @griswold.knits and use the hashtag #lacydaybeanie so that I can see your beautiful creations!
-Celeste